6 min read
How to create a virtual channel with our Remix VOD2Live demo
Today I’m going to demonstrate how easy it is to create new virtual live linear channels using Remix VOD2Live by repurposing existing content prepared for Video on Demand.
What is a VOD2Live channel, and why does it matter?
A VOD2Live or “virtual channel” uses a set of existing assets which have already been prepared for over the top VOD streaming and repurposes them into a live linear stream. This enables the creation of targeted channels that could otherwise be too expensive to run when using a full broadcast playout chain and encoder.
Using Remix VOD2Live allows quick and simple creation of these virtual channels from an input playlist, which can then be streamed using Unified Origin to every device using HLS, MPEG DASH and Smooth Streaming with all the usual features such as DRM.
If all goes well your demo should end up similar to our online demo.
How to create a VOD2Live channel
We will start by cloning the VOD2Live demo repository from GitHub.
This repository contains everything you need to get started, with a Docker image that runs both Remix and Unified Origin along with a player to watch the created virtual channel.
Run: git clone https://github.com/unifiedstreaming/vod2live
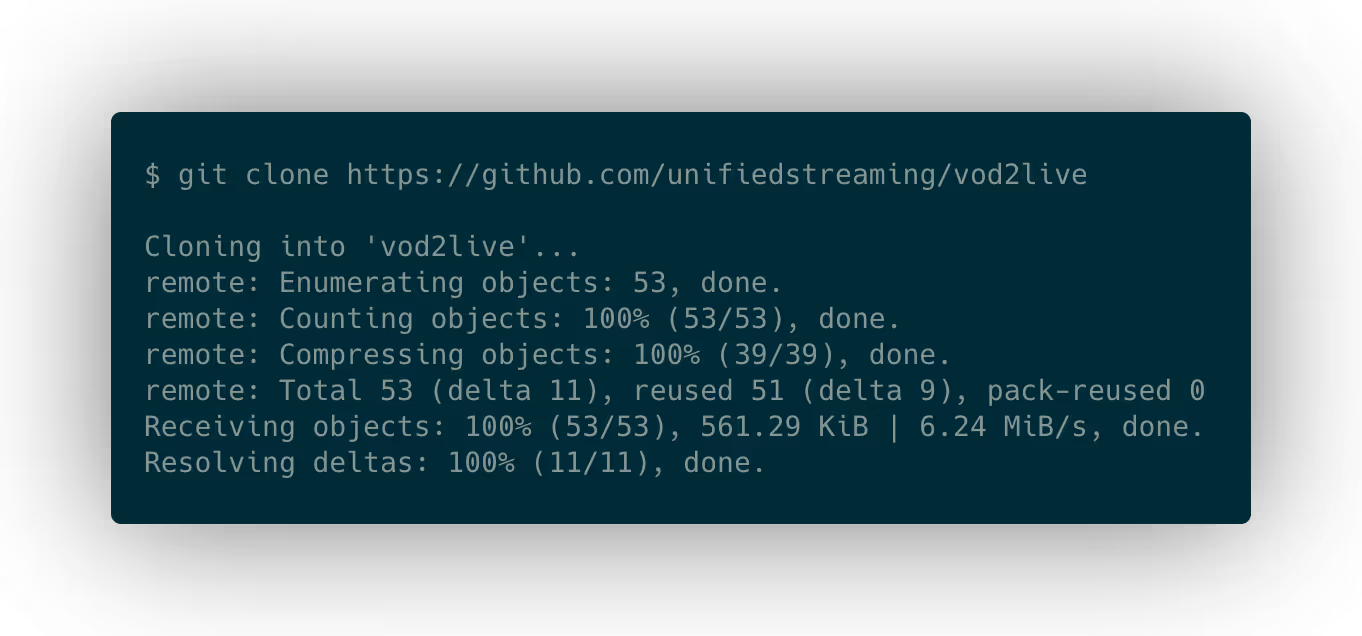
This should create a vod2live directory that includes everything we need:

Inside this we have:
- a
README.mdfile with instructions on using the demo, which can also be read on GitHub - a
dockerdirectory which can be used to build the required Docker image, although for this How To we will use the existing image that has been published to Docker Hub - a
docker-compose.yamlfile that will be used to run the Docker image with appropriate configuration - a
smilsdirectory that contains the playlists for the virtual channels we want to run
Now lets take a look at the included playlist by running cat smils/unified-learning.smil:

This is a Synchronized Multimedia Integration Language, or SMIL (pronounced smile 🙂), document that describes the entire presentation of the virtual channel. In this case it just contains a single video source file. When Unified Origin streams a VOD2Live channel it will loop the input playlist, so in this example the single input video will just be looped forever.
Now let’s check out the Docker Compose file that we will use, by running cat docker-compose.yaml:
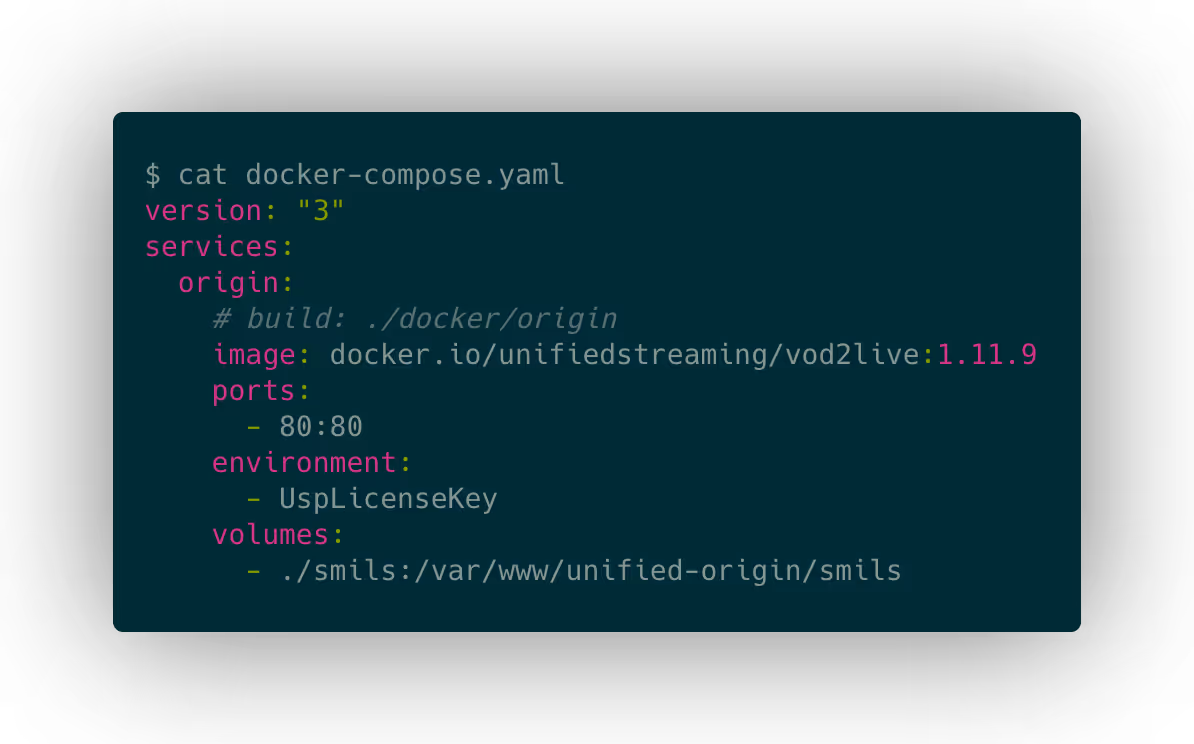
As you can see, it contains a single Docker container named origin, which will run the unifiedstreaming/vod2live image from Docker Hub. But if you wanted to customize the image in some way you can easily do so by modifying the build instructions in the docker/origin directory, commenting out the image: ... line and uncommenting build: ….
The compose file exposes port 80 from the container, so we can access it using a standard HTTP connection in a web browser.
There is some required configuration, which is the UspLicenseKey environment variable that needs to be set to allow the software to run. If you already have a VOD2Live license then you can use that, otherwise contact sales@unified-streaming.com for a free trial key.
And finally it maps the smils directory into the container as a volume. This means that any changes made to playlists in the smils directory will affect the output of the container.
Now let’s start it up and see how it looks, we do this by first setting the license key (note that the below key is expired and serves as an example only, please contact sales@unified-streaming.com for a free trial key if you don’t have one already):
export UspLicenseKey=c2FsZXNAdW5pZmllZC1zdHJlYW1pbmcuY29tfDIwMjExMjE3IDAwOjAwOj\
AwLDQ2fHN0cmVhbSh2b2QsbGl2ZSx2b2QybGl2ZSk7cmVtaXgobGl2ZSk7Y2FwdHVyZSgpO3BhY2thZ\
2UoKTtzdXBwb3J0KDEpO2lvX29wdCgpO2NoZWNrKGV2YWx1YXRpb24pO3ZlcnNpb24oMS43LjQpfHRy\
aWFsX1ZPRDJMaXZlIEJsb2d8ZjA2YWQ3YTYzZmI5NDg0YWE5MzhhMGFiOTFmYTA1NjR8YzJkZjcyMzc\
3ODhmMTFjNmVmYjU2NGFhODNhMGU3OGYxMjQyNmFjMjY5M2M3MDNlODliYTJkYzU3YTY3NTNhODVlOD\
M5ZWI0ZGM5MGI4M2U3M2VlOWZhMDMyMzQ0OGQ0Yzg5NDc3NDFiOGZlZTZmZGRjOTY3Y2Q1NzhmNWI4M\
zIwNDBmNWJlZDAwZDUzNThhYzI5ZDMzNjdiNTI5MTJlN2Q0NzA3YTI2YTY1OGY3YmM1YmRiNzEyNTRl\
NWM0MjE4ZDg3N2FjOWYxNTJjMjhmMTM5ZmE5ZjhmY2Q4NGEwZTIxMTI4MjI3MDI3Y2VhOWQxMGQ2OGI\
5OTZlODBlZTE0Mg==
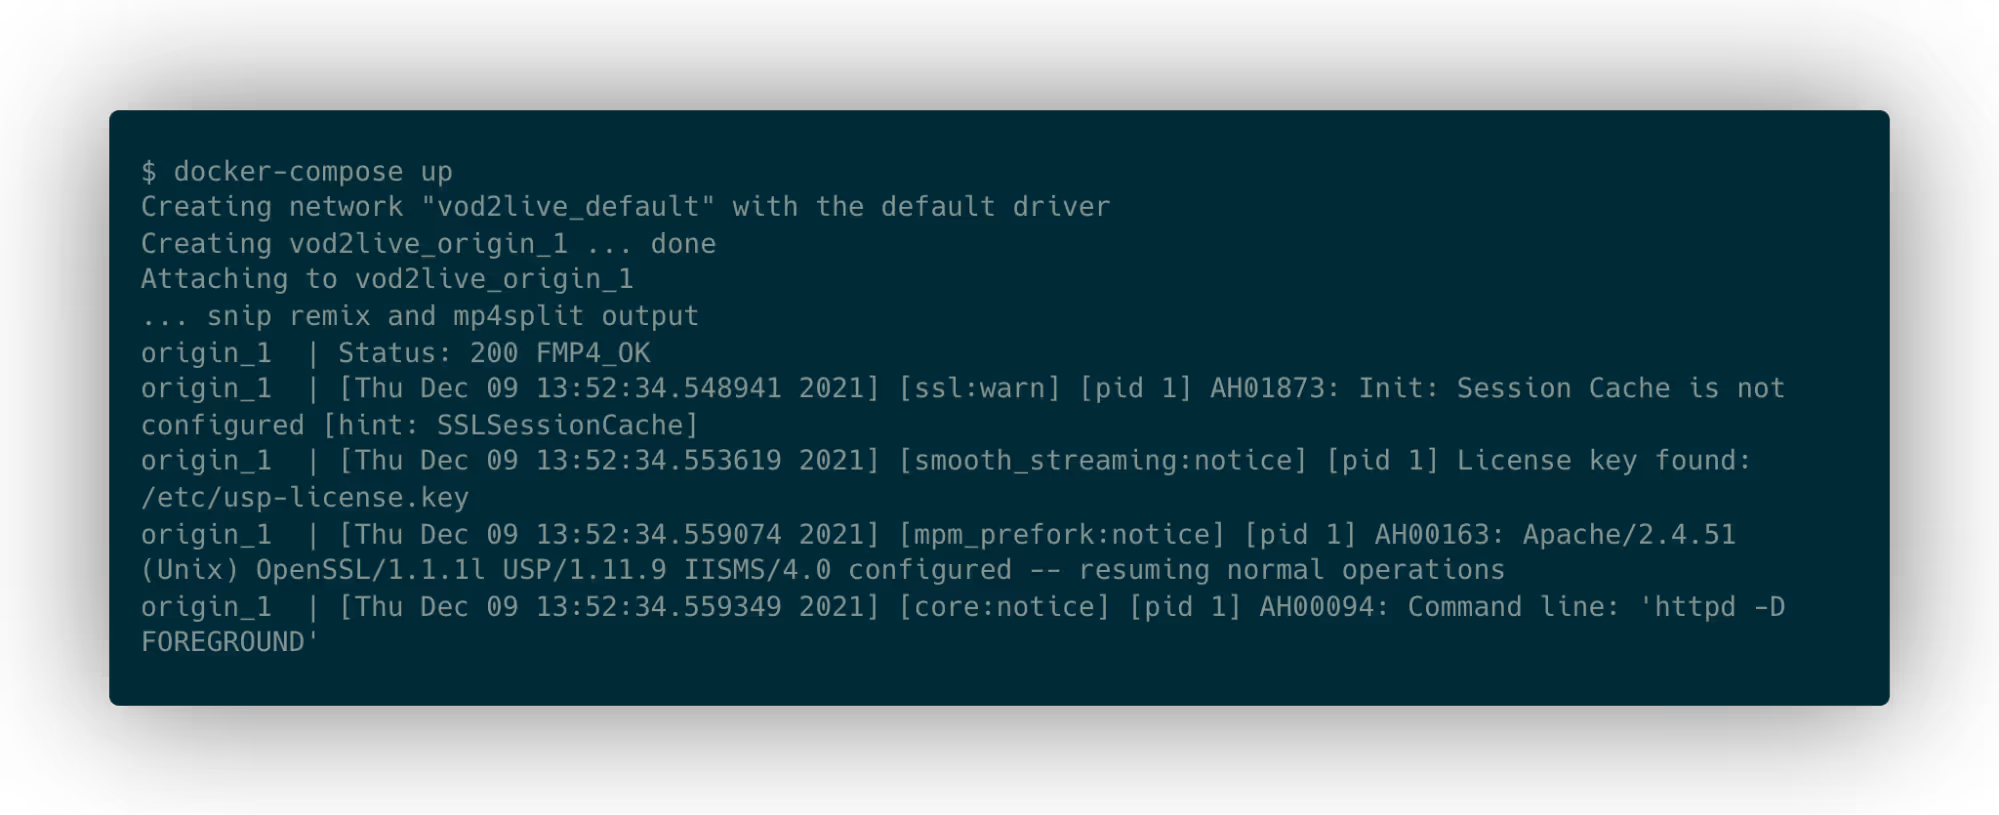
And then running docker-compose up:
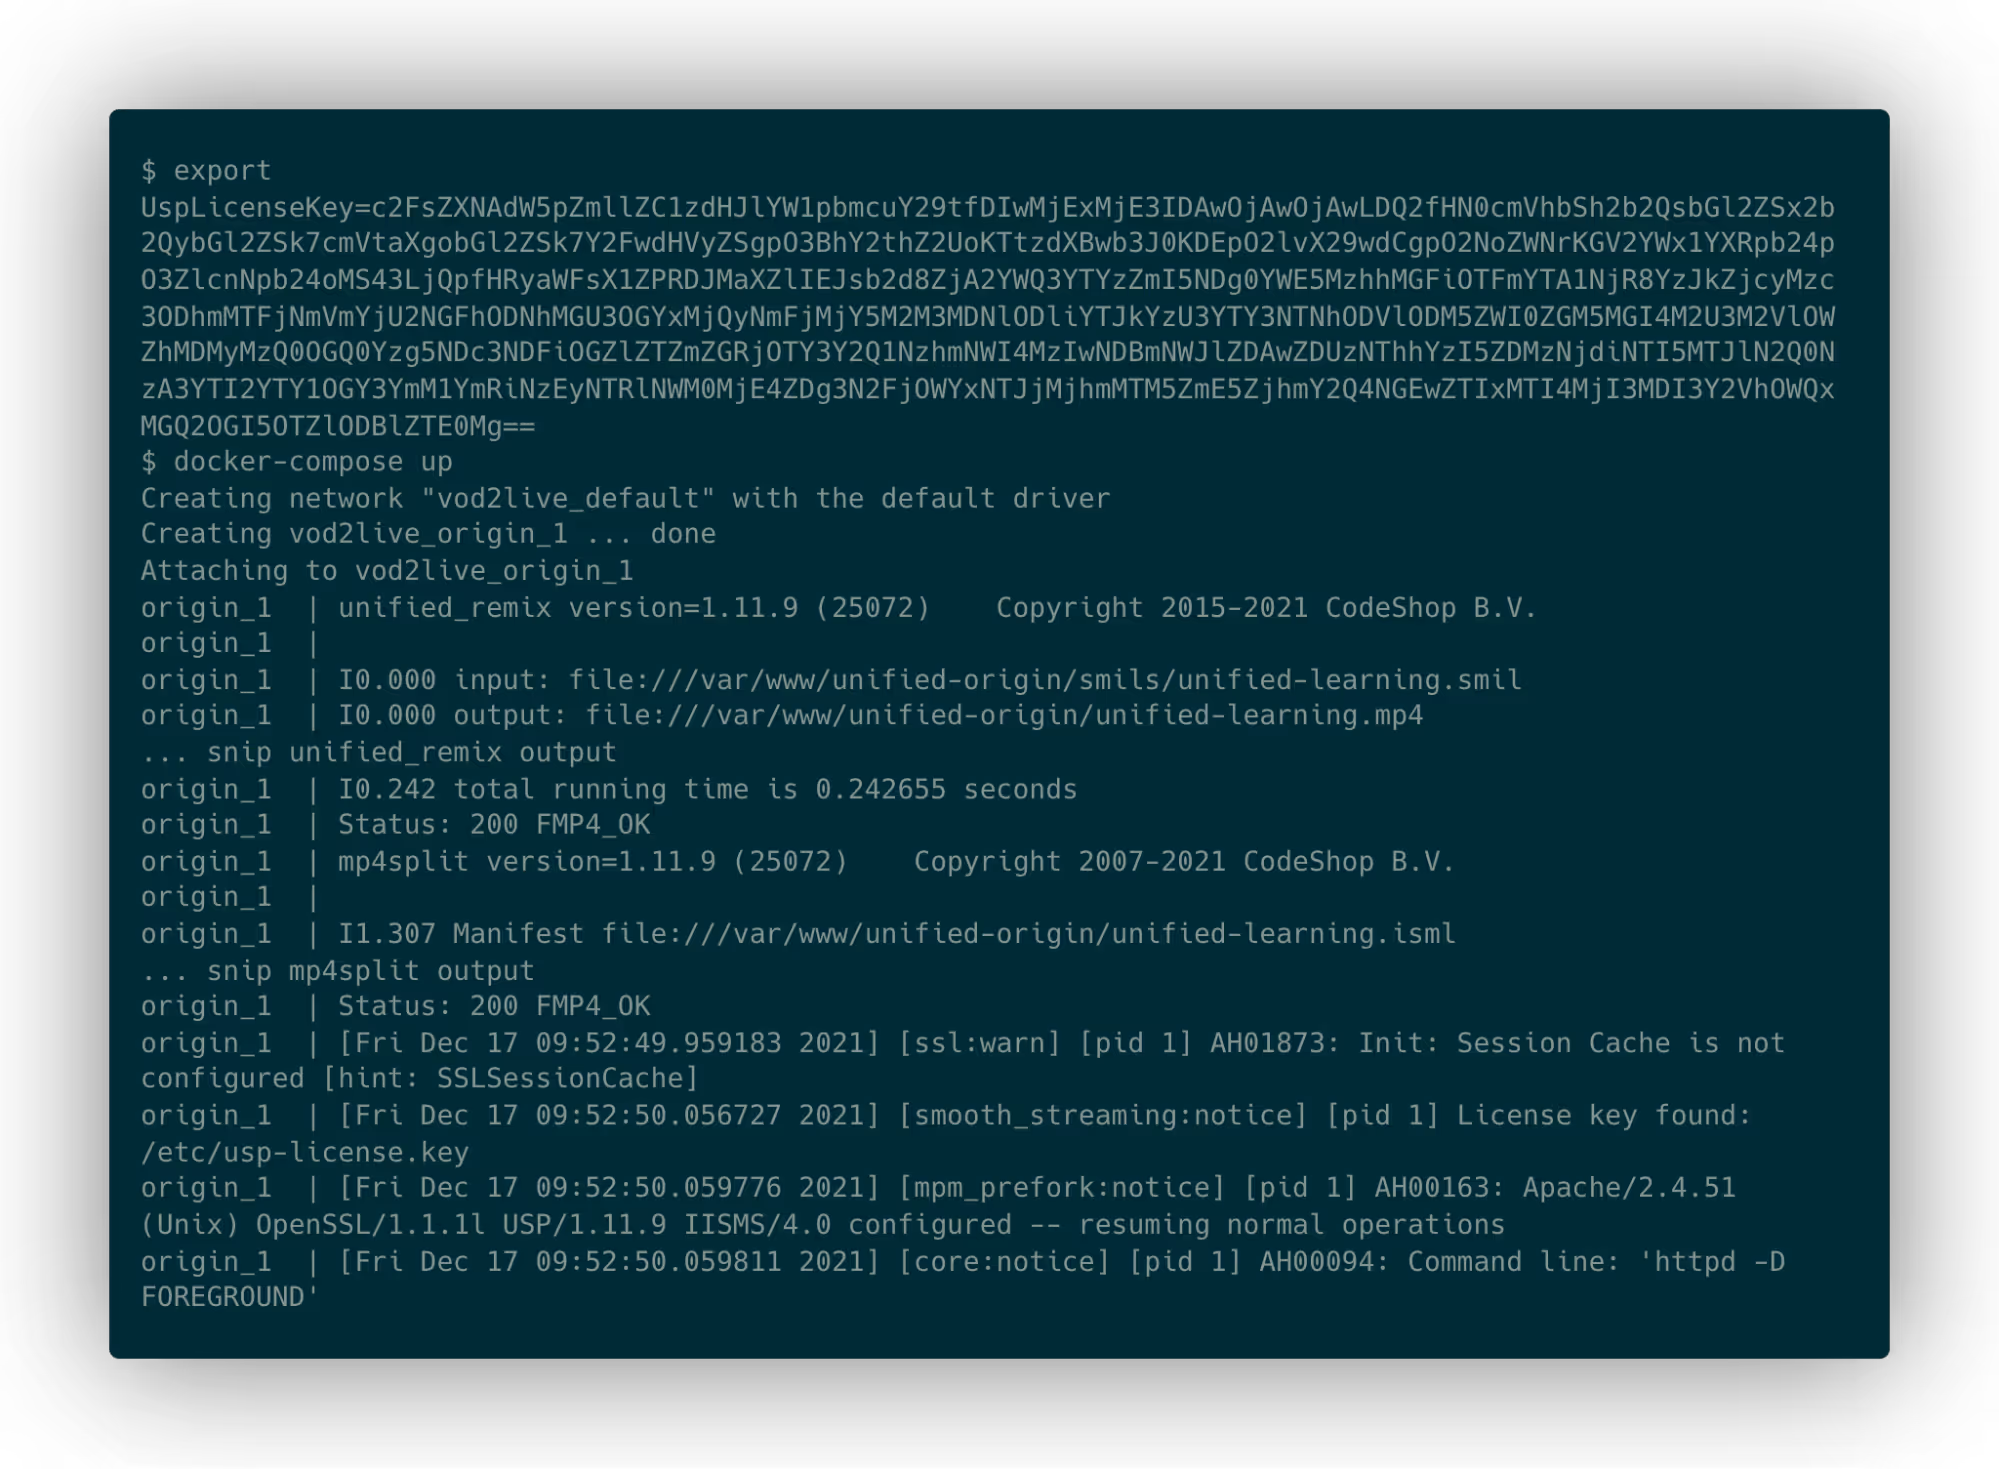
When the container starts up it first runs unified_remix against every playlist in the smils directory to process them and make them suitable for streaming from Unified Origin. It then runs mp4split to create a server manifest for each of these enabling VOD2Live streaming.
Once all of the playlists have been prepared it starts up Apache with Unified Origin.
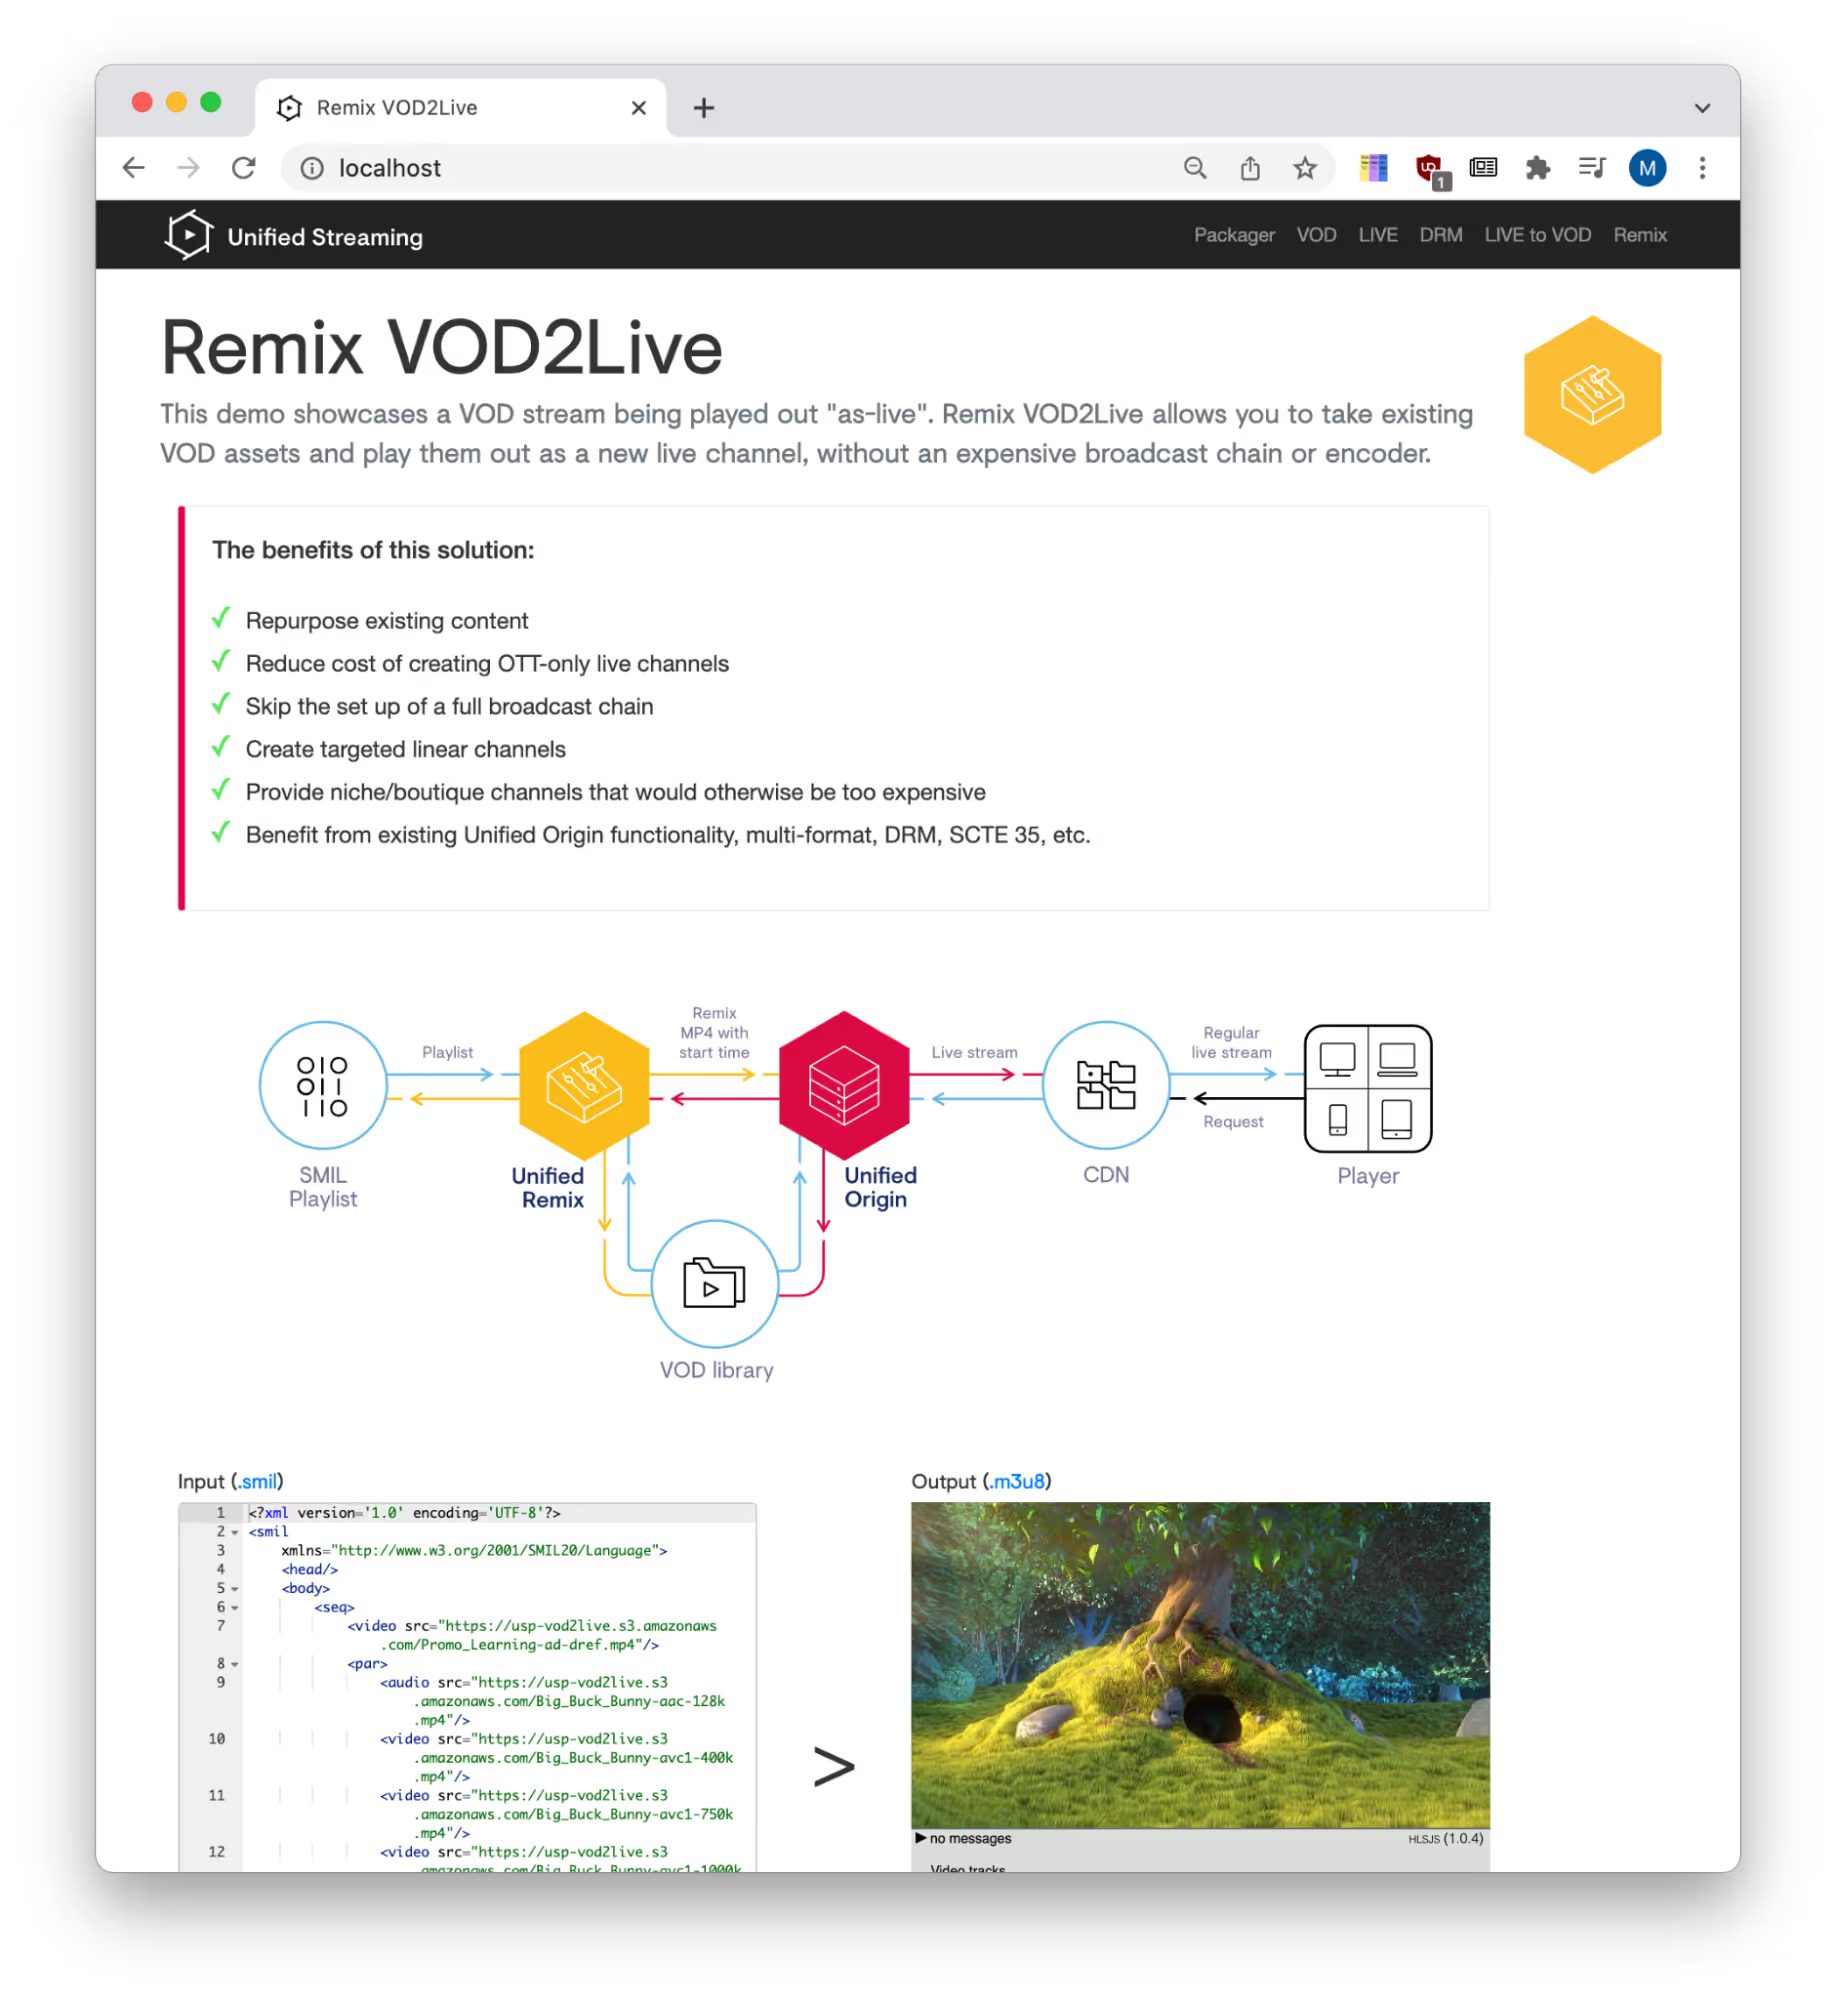
Now that it is running, open http://localhost in your favorite web browser, and you should see the live stream playing, looking something like this:
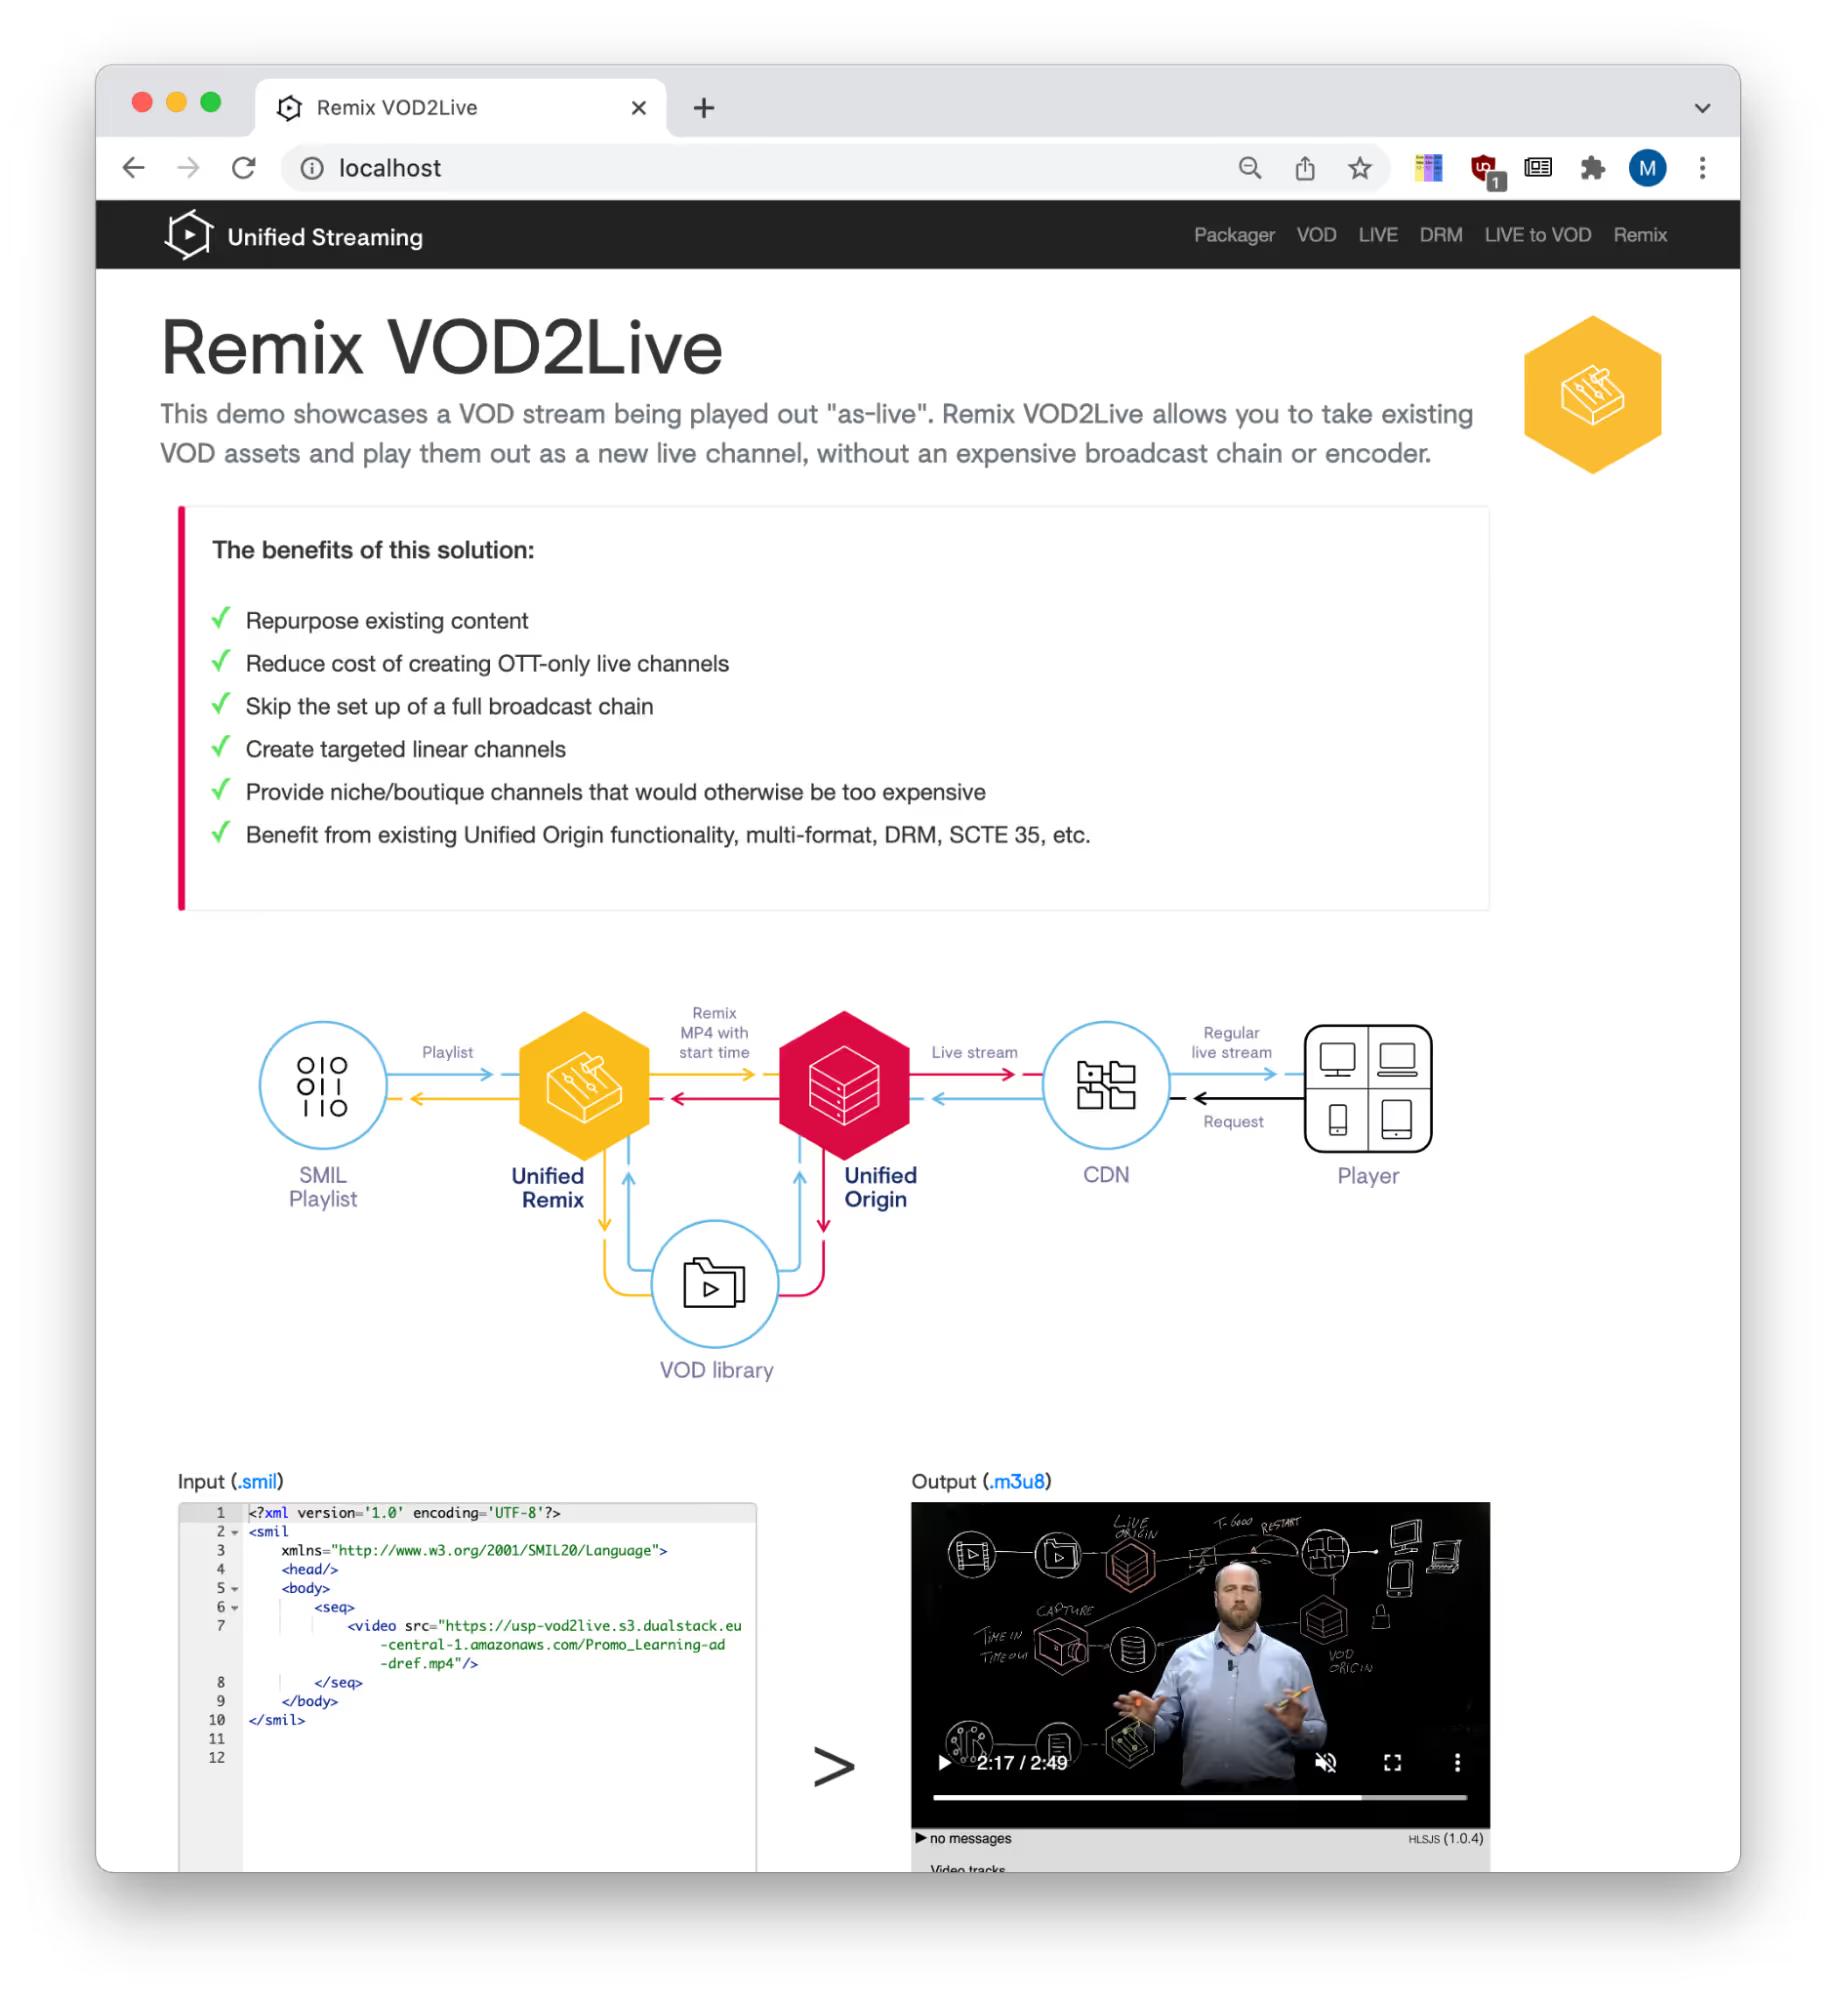
You can see the input SMIL playlist being used alongside an HLS.js player playing the VOD2Live stream. By default this page just loads the smils/unified-learning.smil playlist and the HLS stream generated from it.
Now that we’ve seen the basic demo working, let’s change things up a bit with a more interesting playlist.
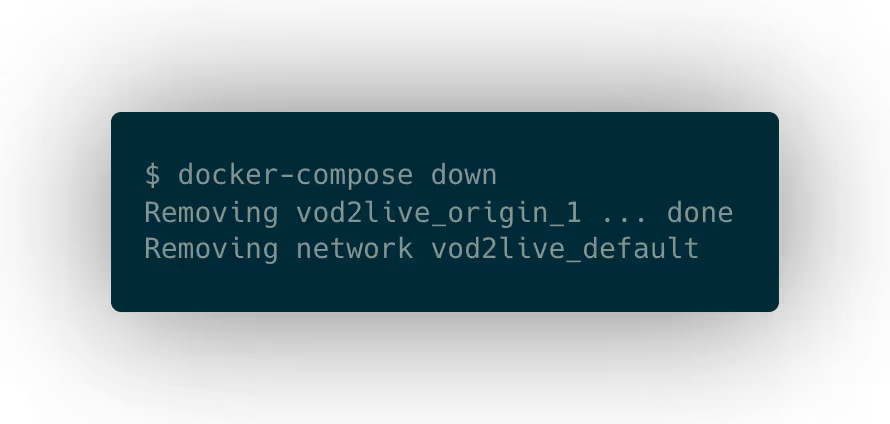
First we will stop the demo by pressing ctrl+c and running docker-compose down:
Then open smils/unified-learning.smil in your editor of choice and add everybody’s favorite test video.
We can do this by extending the existing sequence (<seq>) by adding a parallel (<par>) element that contains the Big Buck Bunny media files. This also shows the different ways you can include content in a SMIL playlist. The original media is referenced as a single MP4 file with all the tracks, whereas Big Buck Bunny has each track in a separate file.
<?xml version='1.0' encoding='UTF-8'?>
<smil xmlns="http://www.w3.org/2001/SMIL20/Language">
<head/>
<body>
<seq>
<video src="https://usp-vod2live.s3.amazonaws.com/Promo_Learning-ad-dref.mp4"/>
<par>
<audio src="https://usp-vod2live.s3.amazonaws.com/Big_Buck_Bunny-aac-128k.mp4"/>
<video src="https://usp-vod2live.s3.amazonaws.com/Big_Buck_Bunny-avc1-400k.mp4"/>
<video src="https://usp-vod2live.s3.amazonaws.com/Big_Buck_Bunny-avc1-750k.mp4"/>
<video src="https://usp-vod2live.s3.amazonaws.com/Big_Buck_Bunny-avc1-1000k.mp4"/>
<video src="https://usp-vod2live.s3.amazonaws.com/Big_Buck_Bunny-avc1-1500k.mp4"/>
<video src="https://usp-vod2live.s3.amazonaws.com/Big_Buck_Bunny-avc1-2200k.mp4"/>
</par>
</seq>
</body>
</smil>
If we start the demo again with docker-compose up and open http://localhost again, the stream is now playing the promo and Big Buck Bunny in a loop allowing you to watch BBB for as long as you want.
I hope this has shown how easy it is to get started using Remix VOD2Live to create and stream virtual channels. If you’d like to find out more about it please check out our documentation or read this blog post which talks more about the solution.
If you liked this downloadable demo feel free to give me a shout about which one you would want to see next. If you would like to extend this with more advanced features such as adding DRM, doing frame accurate cuts in Remix, or adding timed-metadata markers, for help and keys please contact sales@unified-streaming.com.
